
How to Use Xcode From Windows With a Remote Mac
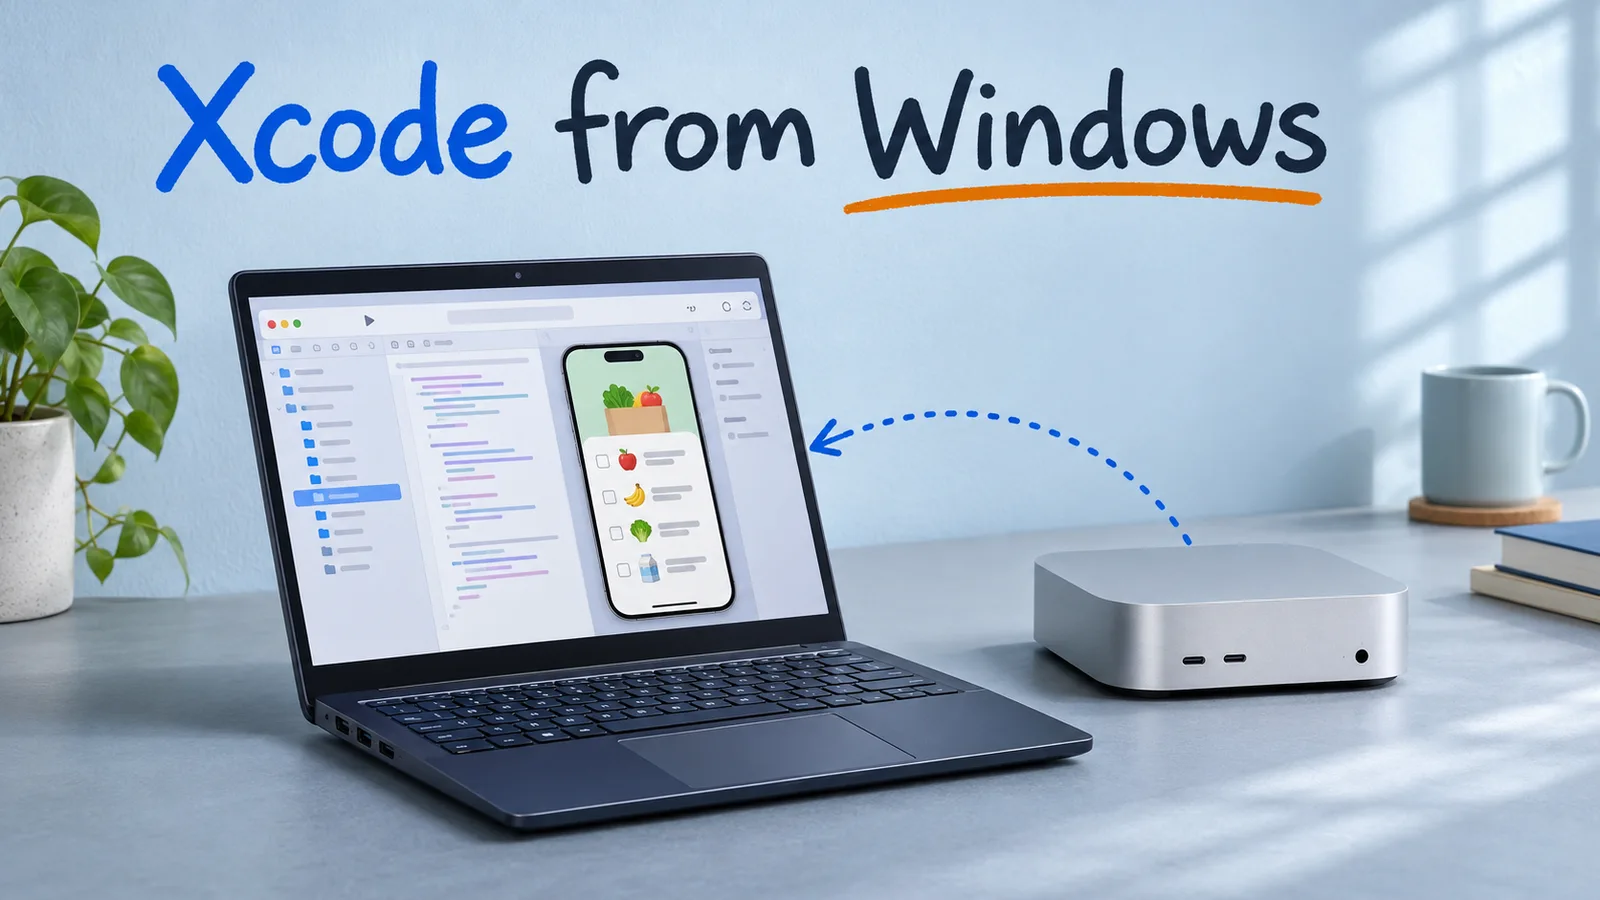
Xcode runs on macOS. From Windows, you can open a remote Mac desktop, work in Xcode, and run your app in the iOS Simulator. Keep your editor on Windows if you like and use the Mac when you need Apple’s tools.
The Short Version
- Open the Mac desktop with a VNC viewer when you need Xcode or the Simulator.
- Use SSH from PowerShell to run builds on the Mac from a terminal.
- Send a build to your own iPhone with TestFlight once you need to check it on hardware.
Say you’re making a grocery list app on a Windows laptop. You can edit the Swift files there, but you’ll want to see what happens when you tap a row on an iPhone. Use a Mac you can log into from your PC. A Mac you already own will do, or you can rent one by the month.
How Do You Connect to the Mac From Windows?
Use a VNC viewer to open the Mac desktop on your PC. VNC sends you a picture of the Mac screen and sends your clicks and keystrokes back. On a Mac you own, turn on Screen Sharing under System Settings → General → Sharing. Allow VNC viewers and set a VNC password in the Screen Sharing settings. Enter the Mac’s address in the Windows viewer and connect over a private network or VPN. For a rented Mac, use the address and connection instructions from the host. Apple’s Screen Sharing instructions
Check that the Mac runs a version of macOS that works with the Xcode release your project needs. In Xcode → Settings → Components, install iOS support and an iOS Simulator runtime if they’re missing. The runtime is the version of iOS the simulated iPhone runs. Xcode system requirements · Apple’s Xcode component setup
Use SSH when you only need a terminal. Turn on Remote Login under Sharing and allow your account if you’re setting up your own Mac. Open PowerShell on Windows and enter the command below with the Mac’s username and address. If Windows doesn’t recognize ssh, install the OpenSSH Client optional feature. Apple’s Remote Login instructions · Microsoft’s OpenSSH setup
ssh macuser@mac.example.comHow Do You Build and Run the App?
Open the project in Xcode on the Mac, pick an iPhone simulator next to the Run button, and click Run. We built a small SwiftUI grocery list on a Mac and launched it in Simulator for the screenshot below. Apple’s Simulator instructions

You can keep editing on Windows. Clone the project on the Mac once. Push changes from Windows to your Git remote and pull the branch on the Mac before you build. Git pull documentation
To build over SSH, run the command below from the project folder on the Mac. We used it to compile Grocery List. Replace GroceryList with your scheme, which tells Xcode which targets and settings to use. For a workspace, add -workspace YourApp.xcworkspace. The generic destination builds the app for Simulator. Choose an iPhone model in Xcode to launch it. Xcode command-line tool reference
xcodebuild -scheme GroceryList \
  -destination 'generic/platform=iOS Simulator' \
  CODE_SIGNING_ALLOWED=NO build
The terminal is handy for repeated builds. Keep the desktop open when you need to click through a screen or stop at a breakpoint. If you get tired of pulling changes by hand, set up a GitHub Actions runner on the Mac.
How Do You Test on an iPhone at Home?
Use TestFlight to install a build on an iPhone that’s nowhere near the Mac. You’ll need an Apple Developer Program membership. Create the app record in App Store Connect before you upload a build. Apple Developer Program membership · Create an app record
In Xcode, select your team under Signing & Capabilities and choose Product → Archive. Upload the build from the Organizer. When Apple finishes processing it, add the build and your account to an internal testing group in App Store Connect. Open the invitation in TestFlight on your phone. Upload a build · Add internal testers · TestFlight
Start in Simulator for the grocery list. Try a TestFlight build when you add barcode scanning and need to check it with a carton in front of the camera.
Send corrections to contact@macmetro.com.